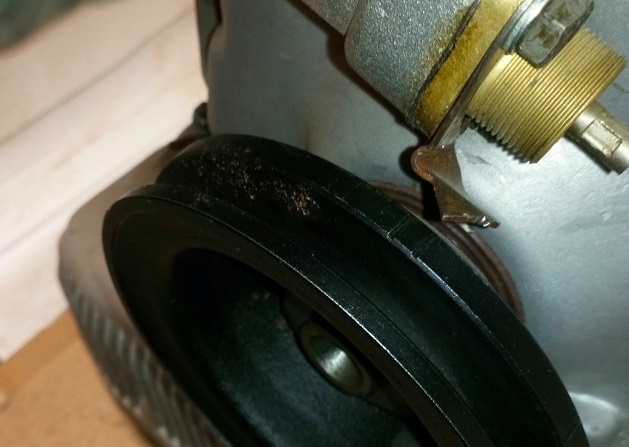
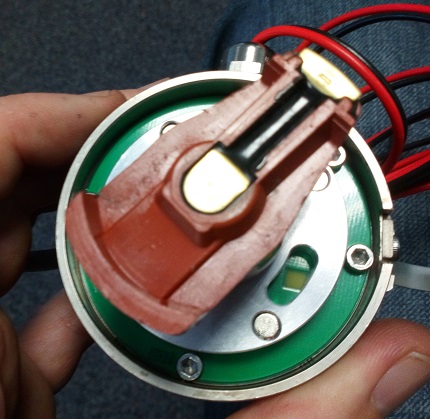
Follow the HT lead from the spark plug on cylinder no.1 (nearest the radiator) to the distributor cap. Make a note of which output on the cap is no.1. Find the timing pointer on the crankshaft pulley and rotate the engine until it points to the “F” mark AND the rotor arm is pointing to the no.1 output on the cap that you noted earlier. Take care not to move the engine from this position.

Select the desired advance curve on your new distributor by removing the plug with an 8mm Allen-key and rotating the microswitch with a small screwdriver.
Remove the old distributor by loosening the pinch bolt and pulling upwards.

Fit the new distributor taking great care to get the drive dog correctly mated with the output on the engine. It is easy to get this 180 degrees out if you aren’t careful. Do not fully tighten the pinch bolt yet.
Connect the red cable to the coil + terminal. Do not connect the black wire yet.
Turn on the ignition. There is a green LED which shines through one of the four holes in the aluminium disc. Rotate the body of the distributor anti-clockwise until the green LED just lights up. While you are rotating the body, gently press the rotor arm in the same direction to take up any slack. Now lock the distributor in position by tightening the pinch bolt. Refit the distributor cap.

Connect the black wire to the coil – terminal.
Fit the HT leads to the distributor cap in the order 1342 starting with no.1 where the rotor arm is pointing now. Take care to get this correct. Fit the coil lead to the centre of the cap. Refit the cap to the distributor.
Start the engine.
For best results, use a stroboscope to check maximum advance.